Living Room

All Posts Containing ‘Living Room’
Living Room Book shelves: Part 4

At this point it seems like it’s taken forever to get this far (because it has) but totally worth it. Even if she was just trying to make me feel better,Allegra told me how awesome it was looking and knew I could do this. 🙂
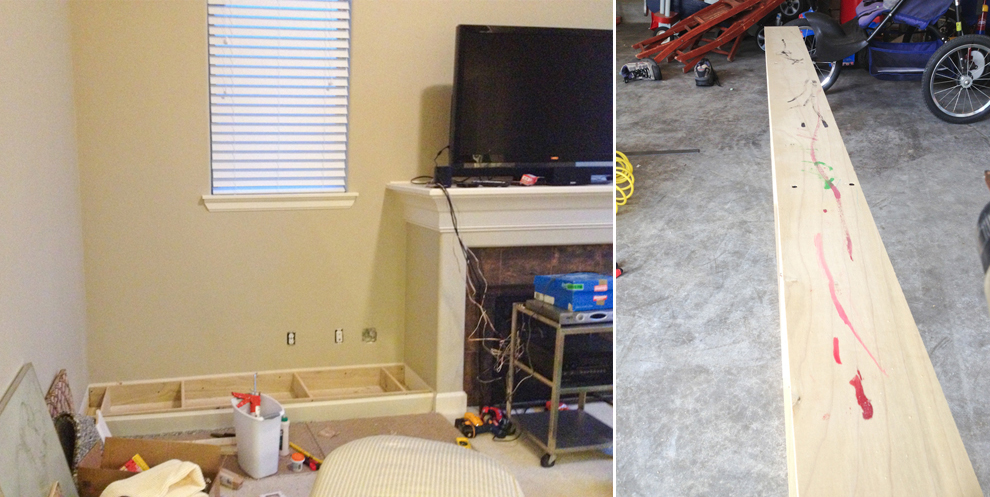
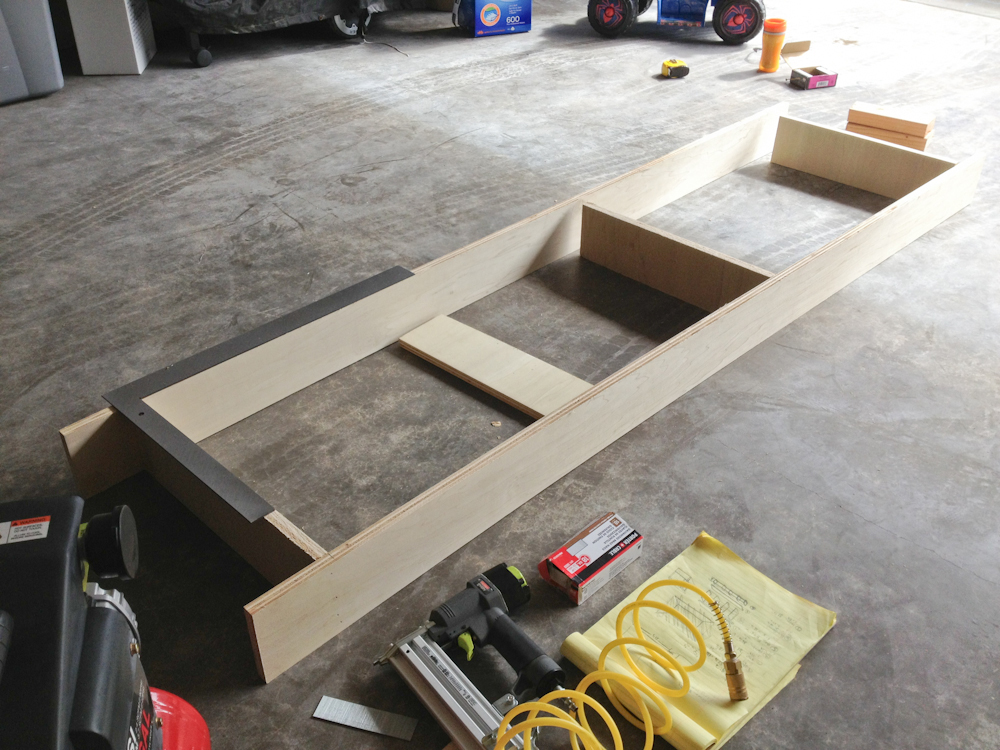
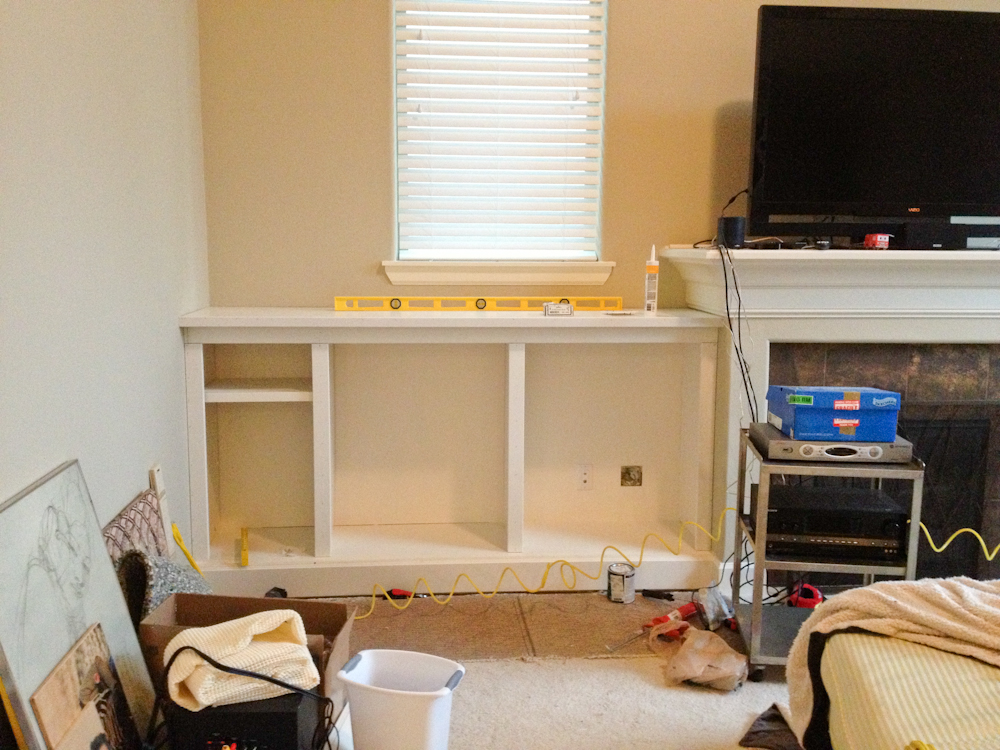
With my confidence high and learning how this all works, putting together the left side took half the time!


Builtin-Book-Shelves-26


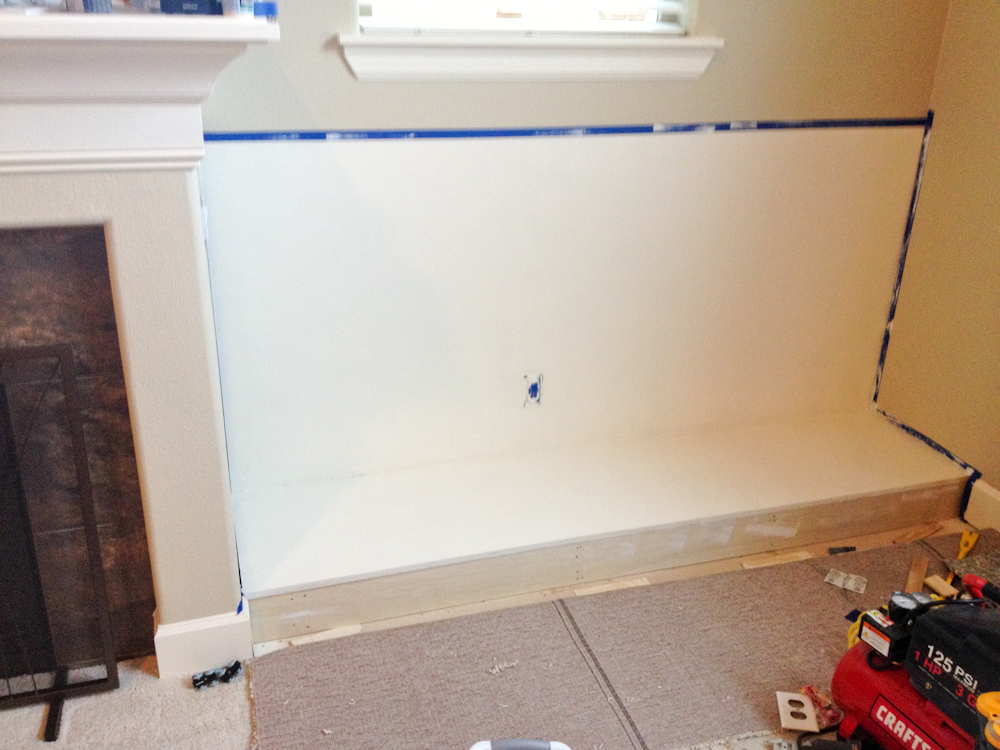
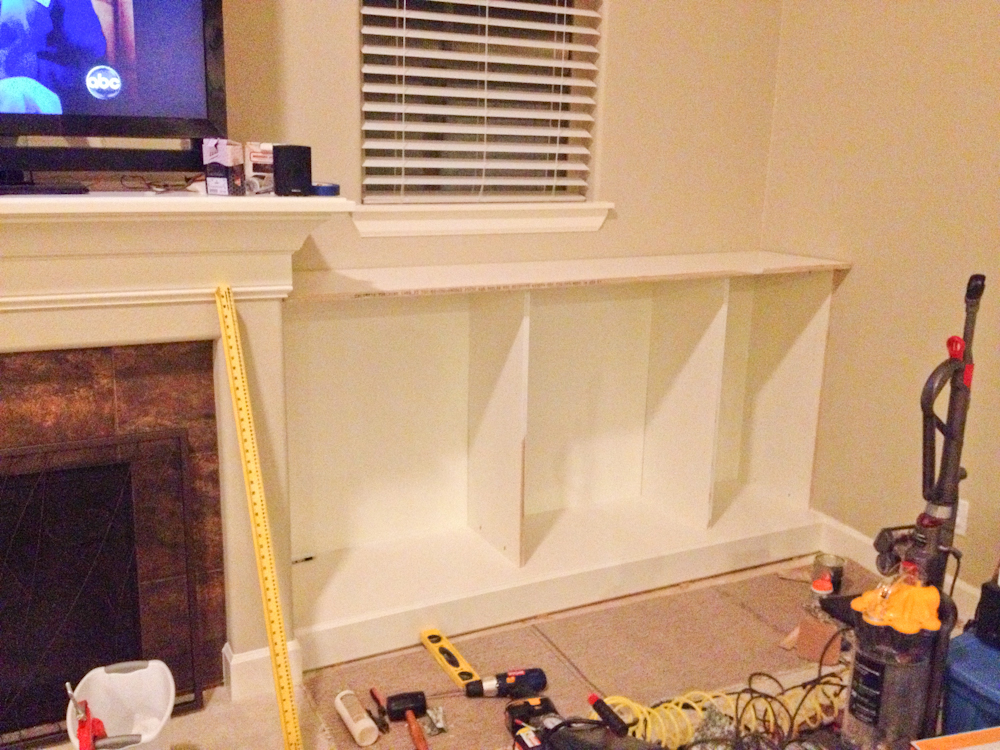
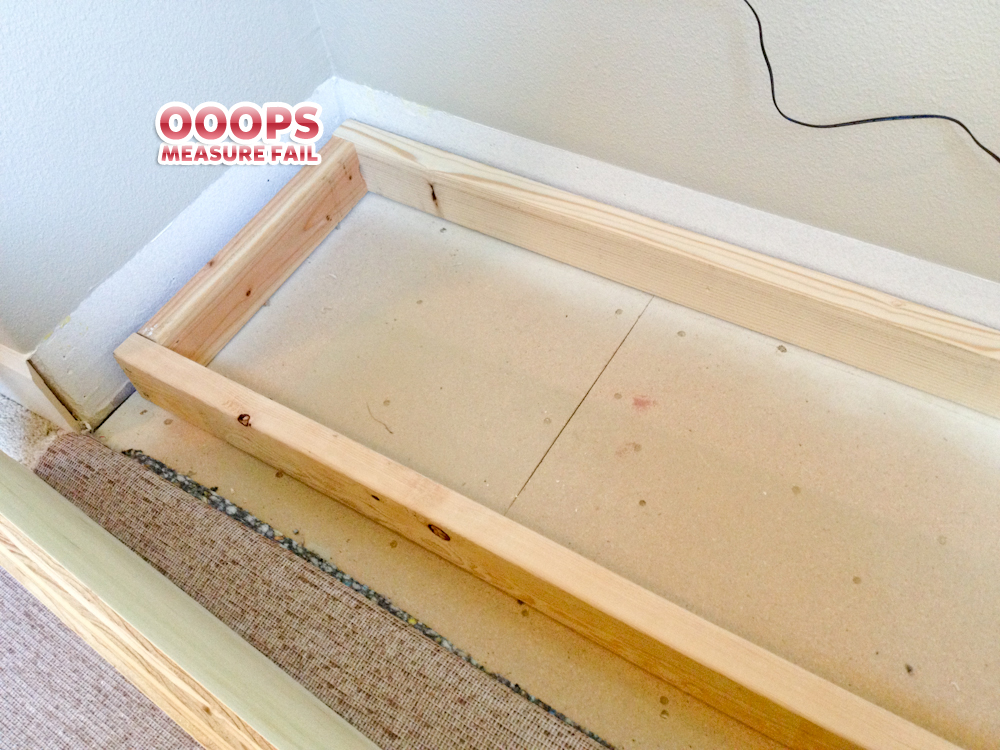
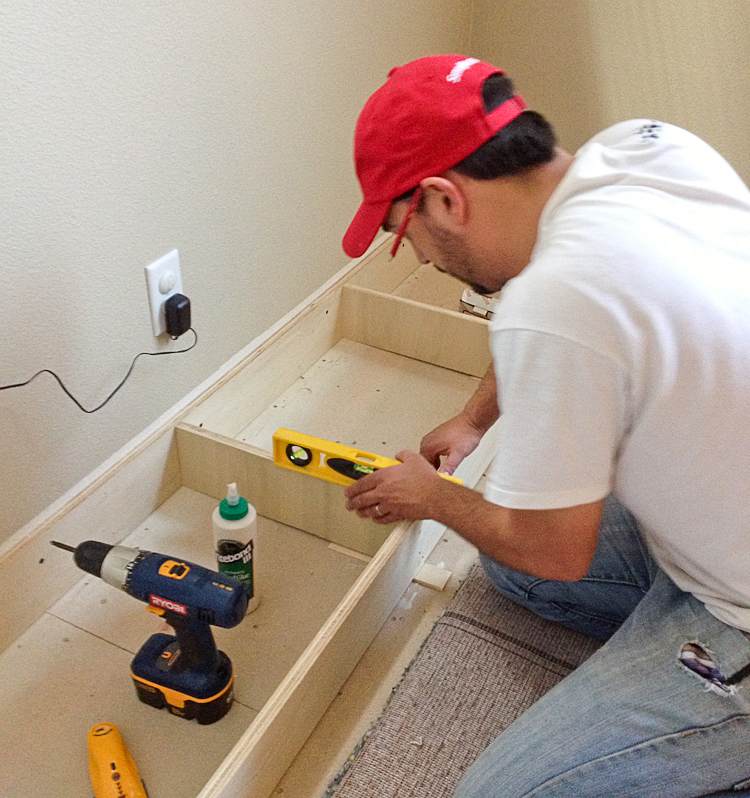
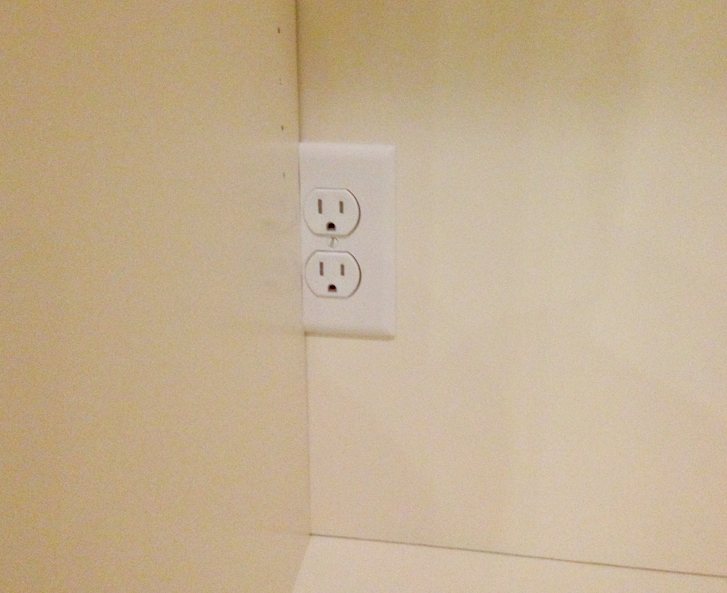
The wall on this side was more square which made things much easier! The one thing that set me back was I assumed something else…that the outlets were the same distance from the fireplace on each side. I figured since I didn’t see with the naked eye how off the walls and fireplace were before starting the project, no one would see that one of the shelves was spaced a little further apart on the left. I moved it over about 3/4″ and cut the outlet faceplate to limit how far I had to go.


Builtin-Book-Shelves-27


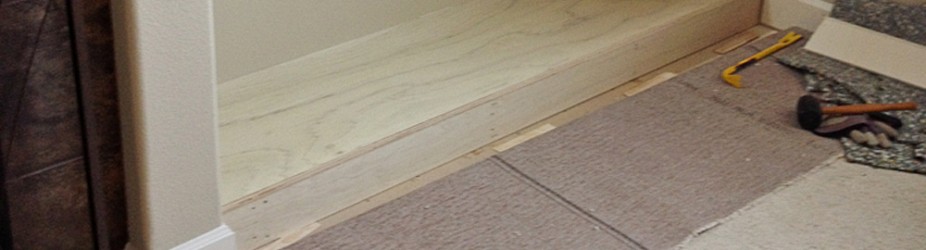
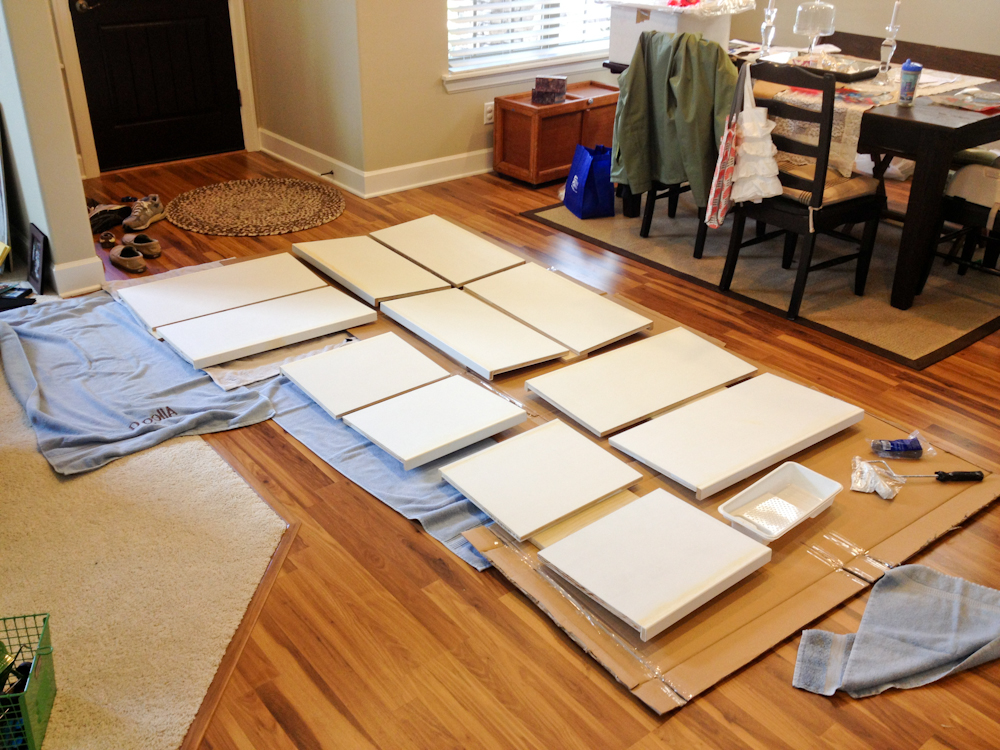
Now I was set to install the face frames! I went with MDF because it came primed with rounded edges cutting time out of the final touches. This part took no time at all and the results made a dramatic change on the way it all looked.


Builtin-Book-Shelves-28


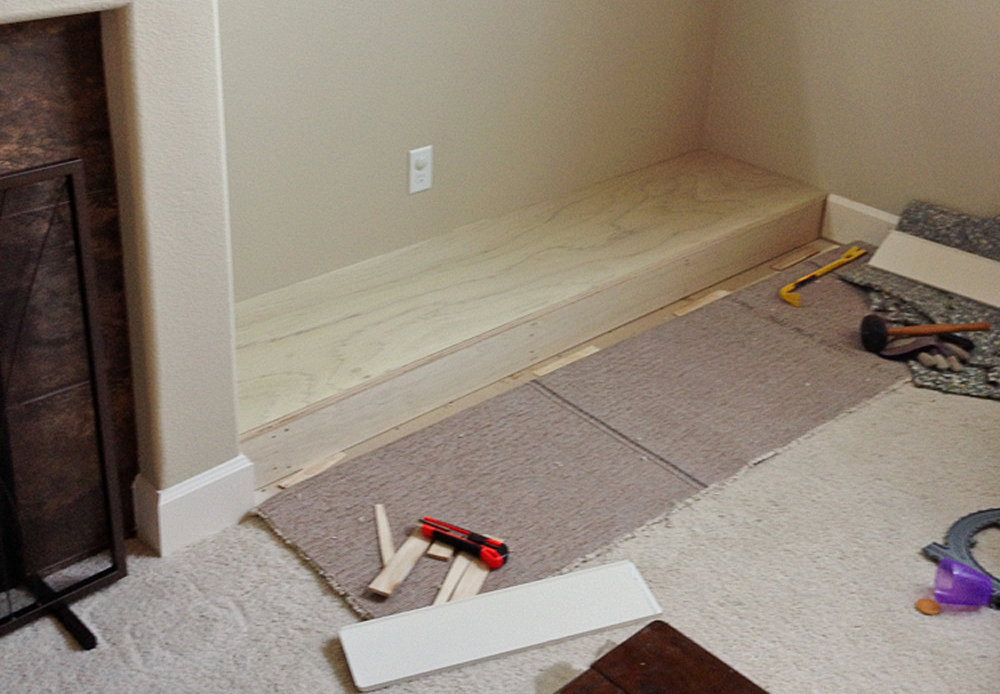
It was super cold outside and after spending an hour in the garage cutting and adding trim to the front of all of the shelves, I brought everything into the house to finish up.


Builtin-Book-Shelves-29


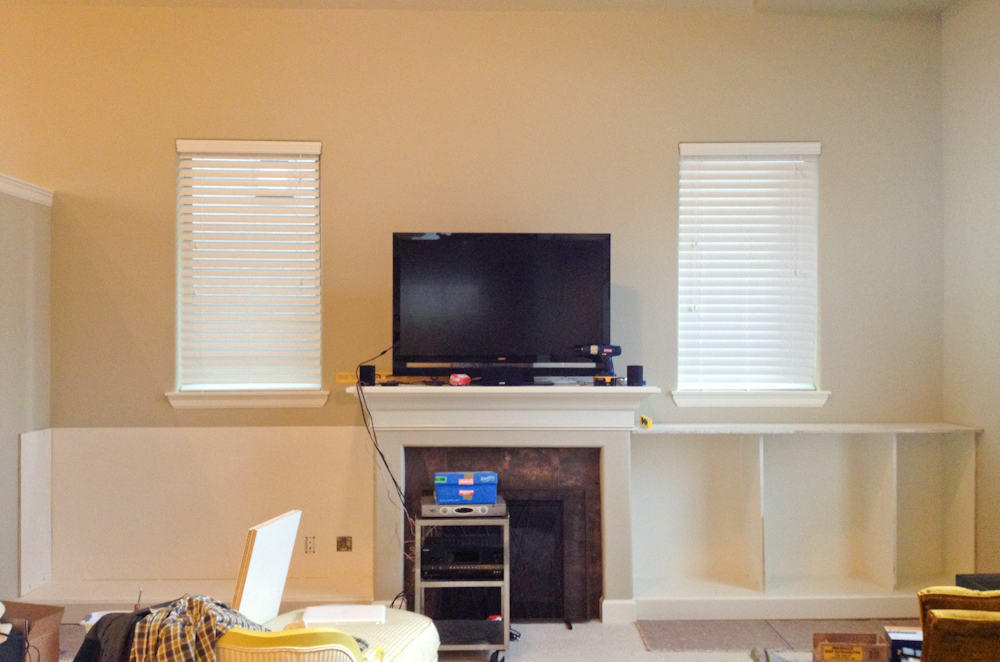
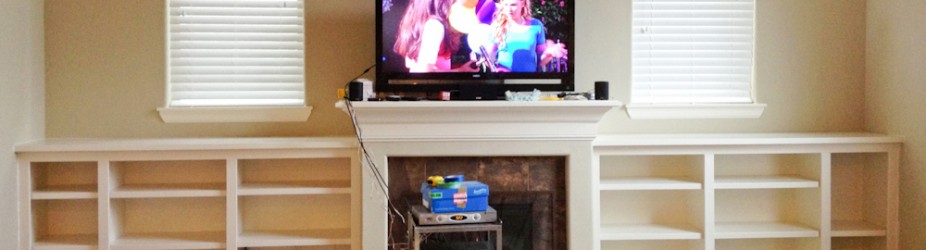
Once the shelves were dry and everything calked up, it was time to see how everything looked together. I couldn’t believe I did it! woohoo.


Builtin-Book-Shelves-30


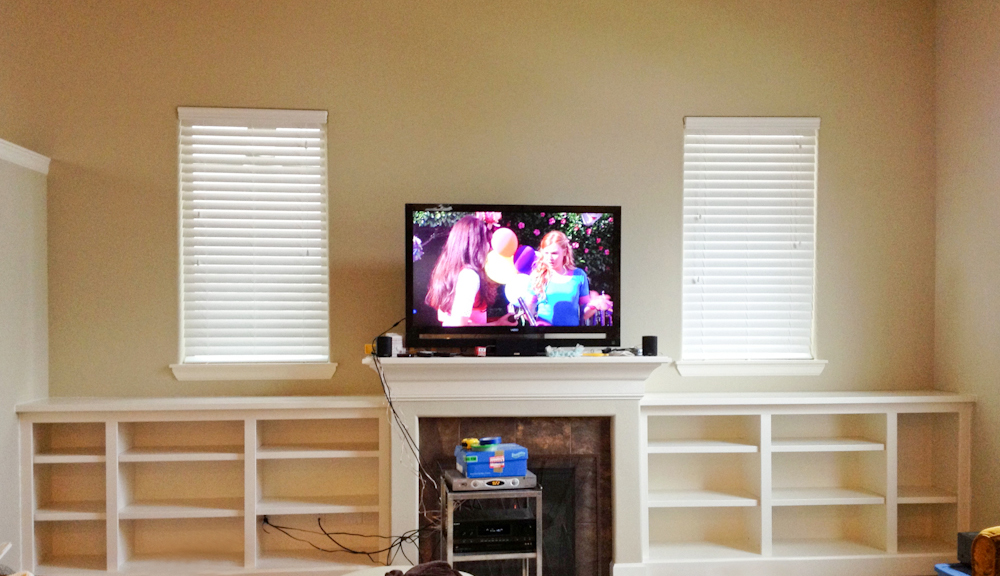
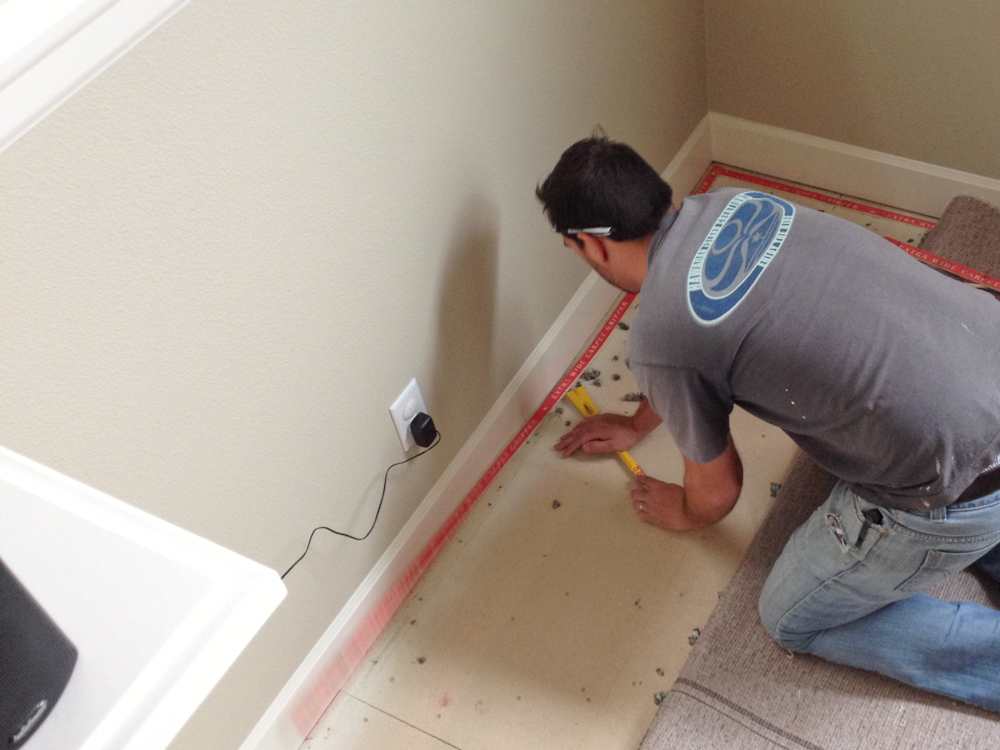
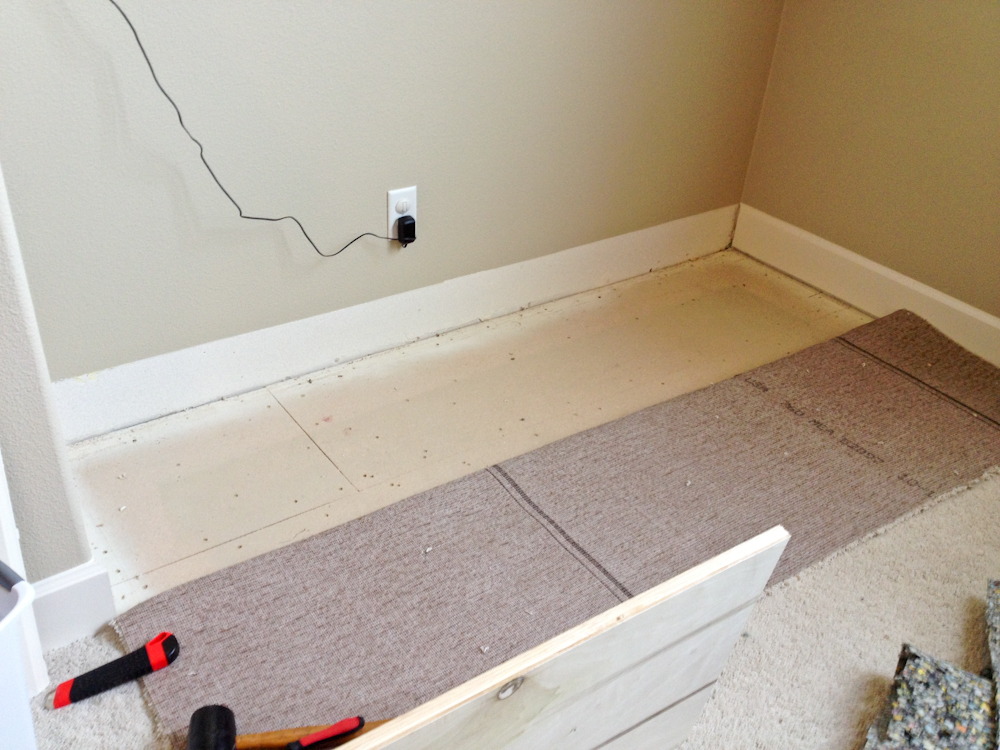
Now, I just need to feed all of the wires through the wall, re-cut the far right shelf so it fits :), a little touch up paint on the walls, call a carpet guy/gal to come out to stretch the carpet then I can unleash Allegra to beautify this thing!

Living Room Book shelves: Part 3

Looking at what I’ve completed and how long it took to complete it, I started to think I needed pick up the pace. So I started the day off with installing the back of the unit (my walls are textured and I didn’t want to deal with smoothing out the walls). I cut some fiberboard to size, nailed it into place and after a little masking painted everything.


Builtin-Book-Shelves-20


(yes, the net project I will use more than my iphone to take pics)

Seeing it all painted showed how big the piece was going to be which was scary and exciting at the same time….so far so good, now to get the shelves going.
I grabbed a piece of pegboard that was laying around (because I saw a cool tip on Pinterest) and used it as a template to drill adjustable shelves. Since it isn’t realistic that someone would need to have a gazillion holes to adjust shelves, I eyeballed the height on the first one, then made sure every other one matched the height. I drilled a hole into a scrap piece of wood to use as a stop so that I didn’t drill through the entire piece of wood…super handy.


Builtin-Book-Shelves-21


One mistake I made was assuming the walls and fireplace were square. At first I thought I was going to have to cut a new piece to compensate for the gap, but I thought I’d try to make a shim and it worked! A lot of sanding in a tight space made it look like it was never there.


Builtin-Book-Shelves-25


Though painting is my nemesis, I didn’t want to crawl under everything once assembled to get everything painted. So far, painting and waiting for the paint to dry has taken the longest time in this project. (note to self: find a sucker friend who loves painting and have them “help” with the next project :))
Once everything was dry, it was time to get things put together so I can do another victory dance and show my kids some dance moves.


Builtin-Book-Shelves-22


[insert victory dance and singing here]

At this point, I realized that I was leaving out my handyman so I gave him a project….sign the base so that his mark is in this house forever. I then assembled the base of the left side and (luckily) with a lot of measuring everything fit perfectly.


Builtin-Book-Shelves-23


I ended the weekend with my favorite task painting the back and installing everything so I can get right into building tomorrow.


Builtin-Book-Shelves-24


Things are starting to shape up!! I’m pumped about getting the left side built up so I can finish this guy!

Living Room Book shelves: Part 2

Waking up to the carpet pulled back with the sub-floor exposed gave me a little bit of motivation to get something started for the day! I started with mistake one: measuring the height from the carpet…


Builtin-Book-Shelves-06


note: save yourself some time and headache….measure from the ground you’ll be building on not the top layer…or it will end up wasting material, time and looking something like this:


Builtin-Book-Shelves-15


I grabbed some breakfast, recruited an assistant to help remeasure the rights height of by base and began ripping stripes from a sheet of poplar I had in the garage…


Builtin-Book-Shelves-14


Builtin-Book-Shelves-16


Having a nail gun saved soooo much time this second time around. I squared everything up and used 2″ brad nails to keep everything together. Once pieced together I went back and used some screws to to make sure these puppies weren’t going to fall apart on me (overkill maybe but I’d rather play it safe).
With the base in place I grabbed some shims to level everything out….everything seemed to be off so I took my time to make sure on this part. I started with the base because I was super confident in my measuring skills and since the height of this piece was crucial to looking right with the fireplace I took the least likely route I’d mess up on measurement 🙂

Builtin-Book-Shelves-18


After placing the base down and leveling it I remeasured the base to cut the top from 3/4″ poplar plywood. This stuff has super strength…again, maybe overkill but my biggest fear was that I would make all this effort convincing <ahref=”http://allegralove.com”>Allegra to let me build this, build it and when she put a book on it, it came crashing down…haha.
I thought I would accomplish more in half of a morning, but with the little set back, it took more time that I expected (pretty common).


Builtin-Book-Shelves-19


Once installed, I took a step back…looked at my progress….and sing a little victory tune in my head “dunna….dunna, dunna, dunna, eigh eigh, eigh”.
I’m half way done with this project. now ready to build the shelves things and finish phase one.

Living Room Book shelves: Part 1

If you know me, you know I don’t do so well in chaos….I like order. We just moved two weeks ago, but coming into the house to see this was driving me nuts.

Builtin Book Shelves-01


As we were packing up the Penske truck to move to Oregon, someone responded to our craigslist ad wanting to buy our entertainment center. We were, literally, 5 minutes from packing it up finding a place to put it in the truck when we sold it. Small victory at the time until we moved here to find we had no space for our stuff! Thus… #timeforaproject
To gain sanity, Allegra and I cleared everything out of the living room and rewarded ourselves with some wine.


Builtin Book Shelves-08


As we sat there my mind started wondering off on what I could attempt to build to gain space for everything. I’ve never attempted a project this big so I started by searching through Pinterest and sketching what I was thought would look good so I had some supportive items when convincing Allegra 🙂 Luckily it didn’t take much effort, she was stoked….and I think terrified when I told her how I would need to do it).


sketching-dreaming


I started by pulling back the carpet, removing the tack strip and clearing out the mess. The easiest way I found to pull up the carpet was to go to the corner of the area I was working, grab a piece of carpet and pull it up and toward me.


note1-living-room-book-shelves-part-1


Builtin Book Shelves-10


I finished the day off with removing the back baseboard, clearing out the old staples and vacuuming clean for a nice clean start for tomorrow.


Builtin Book Shelves-13


Stay tuned for Living Room Book shelves: Part 2